If your Drupal email fails, users feel it fast. For most sites, the best setup is simple: send through Postmark’s API, verify DNS, log every MessageID, and use webhooks for bounce tracking.
Here’s the short version of what I’d take from this:
- Use the Postmark Drupal module first. It gives you better send feedback than plain PHP mail or SMTP.
- Use Mail System if you want to route only certain emails through Postmark, like password resets or order notices.
- Use SMTP only if API setup isn’t possible. It works, but you get less detail when mail fails.
- Check DNS before going live. Postmark needs DKIM and Return-Path records in place, and DNS can take up to 48 hours to show up everywhere.
- Track Message Activity and webhooks. Postmark stores message history for 45 days by default, with retention up to 365 days.
- Test before production. Sandbox Mode can trigger fake bounces, and Spam Check helps flag content issues.
- Watch your rates after launch. A bounce rate under 5% and spam complaints at or below 0.1% are the targets noted here.
- Keep transactional and bulk mail separate. Different Message Streams help protect account emails from campaign issues.
If I were setting this up on a Drupal site, I’d think in four parts: sending, routing, tracking, and DNS. Get those four right, and email problems become much easier to find and fix.
Quick Comparison
| Tool / Area | What it does | Best use |
|---|---|---|
| Postmark module | Sends Drupal mail through Postmark API | Main send method for production |
| Mail System | Routes selected message types | Password resets, alerts, order mail |
| SMTP Authentication Support | Sends through smtp.postmark.net |
Backup option when API can’t be used |
| Message Activity | Shows delivered, bounced, delayed, and other events | Checking what happened to a message |
| Webhooks | Sends bounce and complaint events to Drupal | Auto-updating user or order status |
| DNS tools | Check DKIM, SPF, Return-Path, and DMARC | Domain setup and deliverability checks |
| Sandbox Mode / Spam Check | Tests sending, bounces, and message quality | Pre-launch testing |
Below, I’ll walk through the stack in plain terms so you can pick the right Postmark tools for your Drupal site.
sbb-itb-6e7333f
Drupal modules for sending email through Postmark
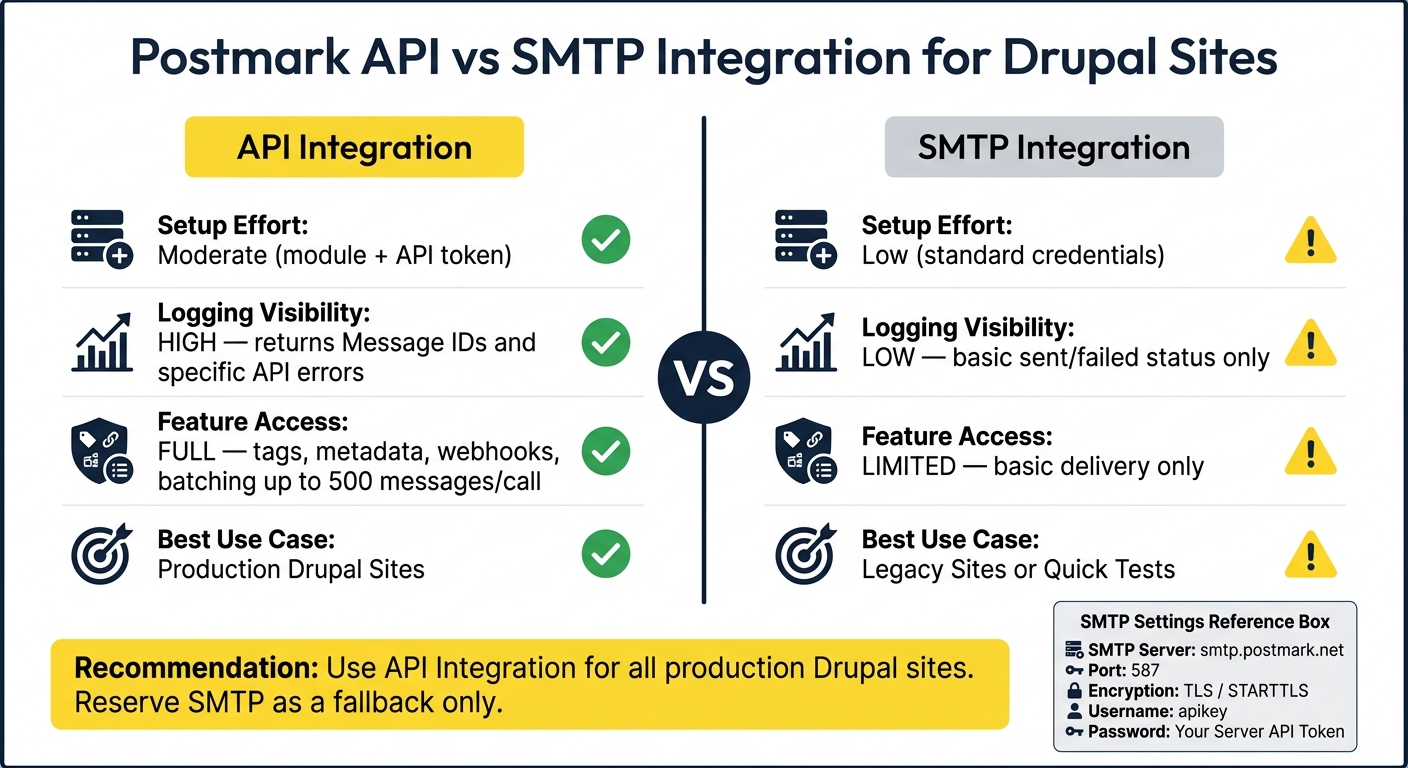
Postmark API vs SMTP for Drupal: Feature Comparison
Postmark module for Drupal core mail
The Postmark module links Drupal core mail with Postmark’s REST API.
Setup is pretty simple: install it with Composer, add your Server Token in the module settings, and choose Postmark as Drupal’s mail handler.
Your Drupal From address needs to match a verified Sender Signature or a verified domain. In most cases, domain verification is the better pick because it cuts down on upkeep.
Once sending is in place, Postmark’s Activity logs and Message IDs make it much easier to track down delivery problems.
Mail System for routing specific message types
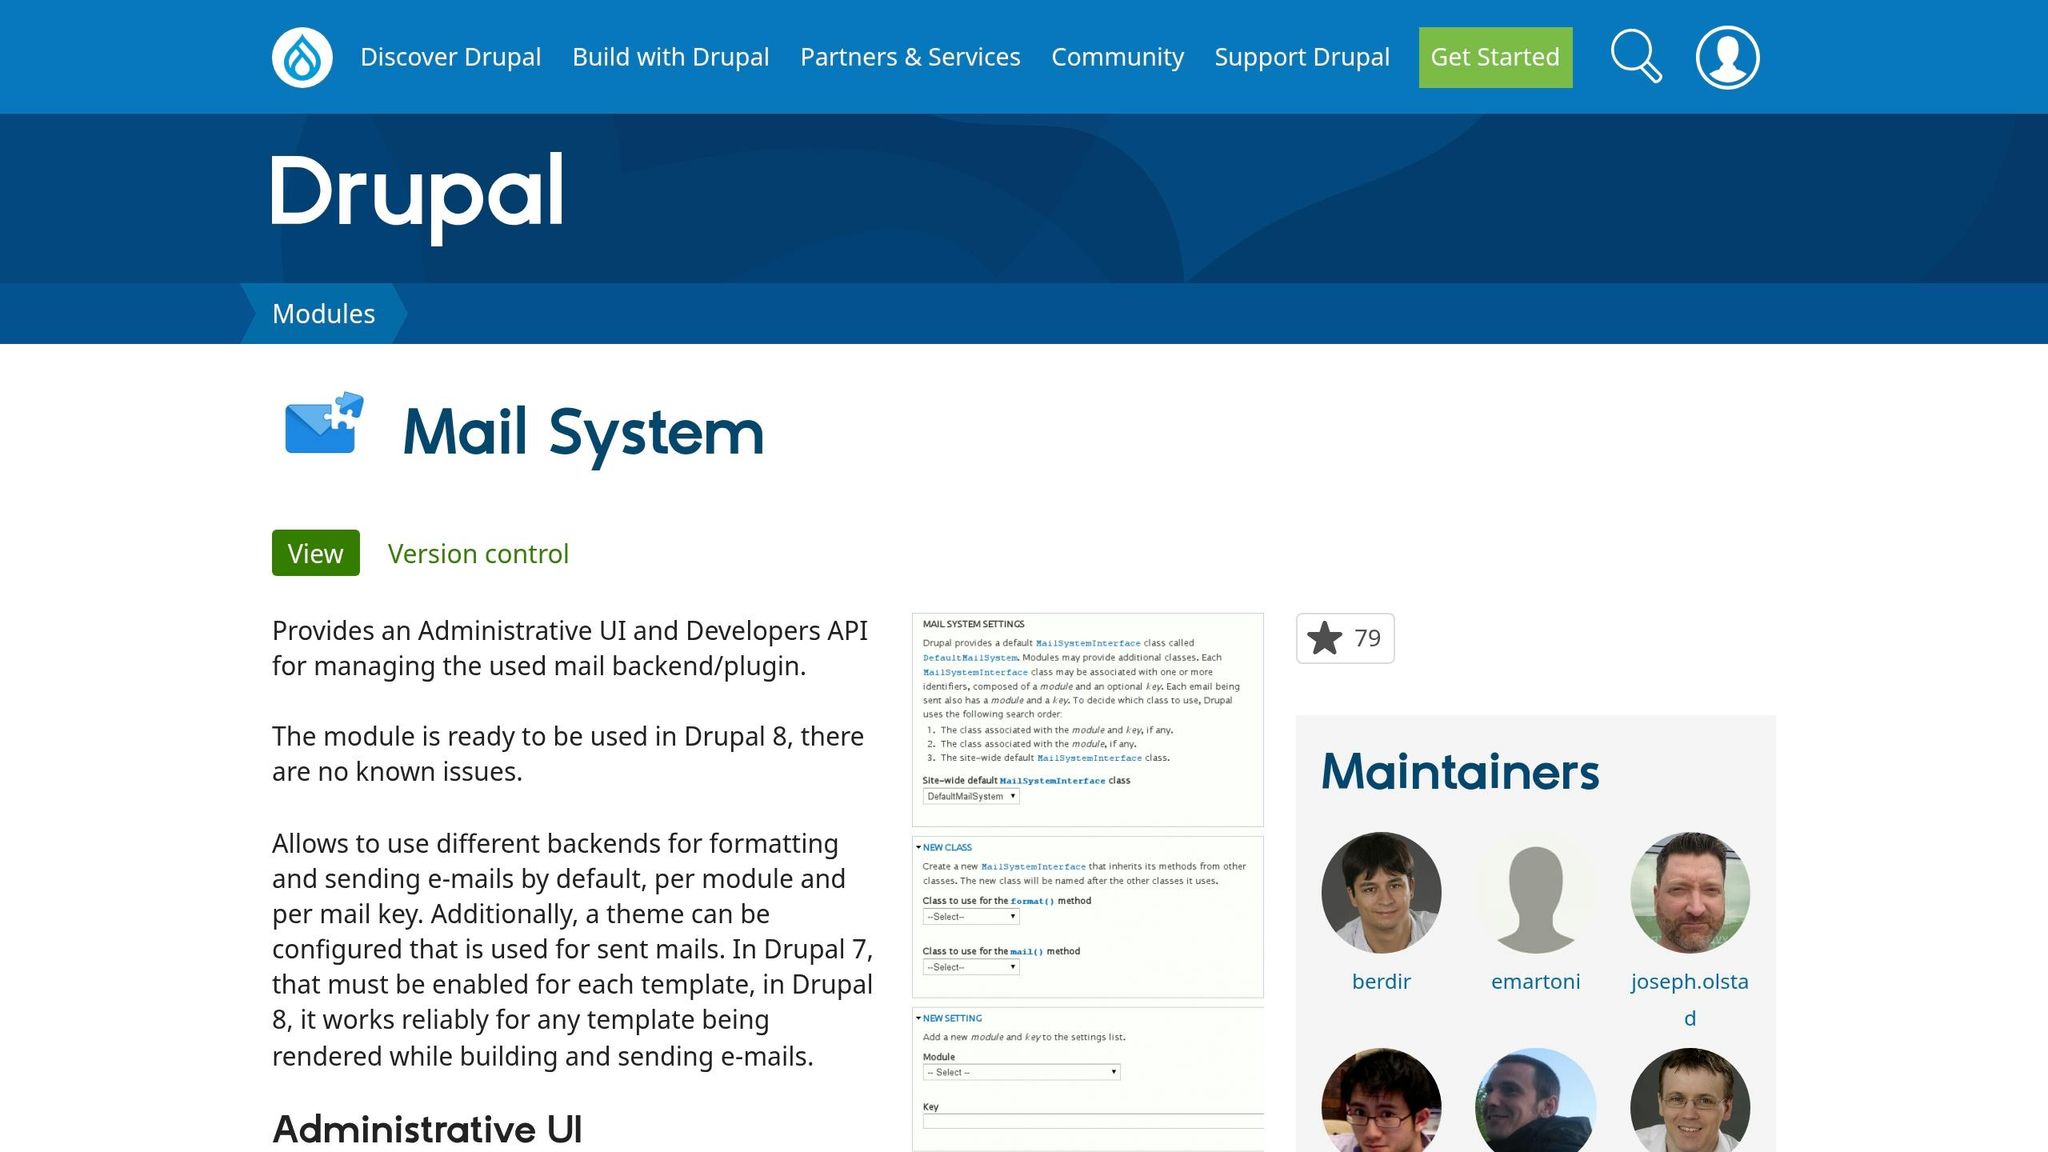
The Mail System module lets you send only certain message types through Postmark. That can include password resets, registrations, alerts, or contact form messages.
This is a smart way to keep high-priority transactional email separate from everything else. Later, if something goes wrong, tracing the issue is much cleaner.
SMTP setup when API integration is not an option
If API integration isn’t available, you can use the SMTP Authentication Support module with Postmark’s SMTP servers instead.
| Setting | Value |
|---|---|
| SMTP Server | smtp.postmark.net |
| Port | 587 (recommended) |
| Encryption | TLS / STARTTLS |
| Username | apikey |
| Password | Your Postmark Server API Token |
There’s a clear tradeoff here. API setup takes a bit more work, but you get better visibility and more control. SMTP is easier to get running, though it gives you less to work with when you need to debug.
| Feature | API Integration | SMTP Integration |
|---|---|---|
| Setup effort | Moderate (module + API token) | Low (standard credentials) |
| Logging visibility | High - returns Message IDs and specific API errors | Low - basic sent/failed status |
| Feature access | Full (tags, metadata, webhooks, batching up to 500 messages per call) | Limited to basic delivery |
| Best use case | Production Drupal sites | Legacy sites or quick tests |
Next, use Postmark Activity and Drupal logs to confirm what happened after each send.
These send options handle delivery. The next section covers activity logs, bounces, and webhook troubleshooting.
Postmark features for monitoring and debugging email
Message Activity, bounces, and delivery events
Once sending is set up, Postmark gives you a clear way to track what happened after Drupal handed off the email. The Message Activity dashboard shows each message's delivery status and event history, including Delivered, Bounced, and Opened events, so you can see exactly what happened after Drupal sent it.
That helps a lot when email goes missing. If a user says they never got a password reset email, or a checkout notification never showed up, you can search for that exact message and see where things broke down. If the message bounced, Postmark shows the bounce type and the details. If it was blocked, the recipient may be on Postmark's inactive list, which can show up as Error Code 406 in the API response.
Postmark stores message details for 45 days by default, and you can extend that retention period to as much as 365 days.
Webhooks and the Postmark PHP client in custom Drupal code
Webhooks send bounce and complaint events to Drupal in real time. That means your code can stop repeat sends and update a user's status right away.
For example:
- A Bounce webhook can mark a user's email address as undeliverable.
- A Spam Complaint webhook can trigger an automatic unsubscribe, which helps protect your sender reputation.
In custom Drupal code, you can use the Postmark PHP client to send metadata and handle webhook events. You should also lock down webhook endpoints with HTTP Basic Authentication or custom headers. Postmark supports up to 30 custom headers per endpoint.
Drupal logs and Postmark IDs for faster troubleshooting
Every message that Postmark accepts comes back with a unique MessageID in the API response. Logging that MessageID in Drupal makes troubleshooting much easier. You can tie a site action, like a form submission, user registration, or order confirmation, to the exact record in Postmark Activity.
It also helps to attach custom metadata like drupal_uid or order_id to outgoing messages. Then, when a webhook fires, your Drupal handler already knows which user or entity needs an update. That's a simple way to track down issues such as a temporary rejection that appears as a Transient event in the message history.
If delivery still looks inconsistent, check your domain DNS and run another sending test.
DNS, testing, and deliverability tools for production email
SPF, DKIM, and DMARC checks for verified sending domains
Once routing and logging are set, check DNS before you send live traffic. This is the part that makes sure Postmark can verify Drupal email the right way.
Postmark needs:
- A DKIM TXT record at
pm._domainkey.yourdomain.com - A Return-Path CNAME that points to
pm.mtasv.net
DNS updates don't show up right away. In some cases, propagation can take up to 48 hours. So before you move ahead, confirm the records are live in DNS with MXToolbox, Google Admin Toolbox CheckMX, or dmarcian DKIM Inspector.
For DMARC monitoring, Postmark offers dmarc.postmarkapp.com if you're working with one domain. If you're watching several domains, use DMARC Digests. A safe way to start is with p=none, which lets you monitor traffic without blocking mail. After SPF and DKIM are clean, move to p=quarantine or p=reject.
| DMARC Policy | What Happens to Unauthenticated Email |
|---|---|
p=none |
No action taken; used for monitoring only |
p=quarantine |
Message goes to the recipient's spam folder |
p=reject |
Message is blocked entirely |
Sandbox Mode and email testing tools
After DNS checks out, test both the message itself and how delivery behaves. Sandbox Mode is a good first stop because it lets you confirm Drupal sends without hitting real inboxes. Postmark's Sandbox Mode can test bounces and webhooks without reaching actual recipients. If you send to hardbounce@bounce-testing.postmarkapp.com, Postmark will generate a fake hard bounce.
For content checks, Postmark's Spam Check tool uses SpamAssassin to score messages and point out deliverability risks. A score under 5 is acceptable. Scores can even go below zero because of Postmark's whitelisting. In plain English: lower is better.
A few small choices can make a big difference here. Skip URL shorteners like Bitly, and include a plain-text version alongside HTML email. If you want to see how messages render across inbox providers, Litmus is the recommended tool.
After launch, keep an eye on two numbers:
- Bounce rate: below 5%
- Spam complaint rate: at or below 0.1%
If either one starts to climb, that's usually a sign your Drupal mail flow needs cleanup or better separation. Transactional mail and broadcast mail should stay in separate Postmark Message Streams.
Conclusion: Building a Postmark Stack for Drupal
After you send an email, the next job is making sure it landed where it should and that you can track what happened next. In Drupal, a solid Postmark setup comes down to four parts: the Postmark module for API sending, Mail System for routing, webhooks for event tracking, and DNS verification for deliverability.
Key Takeaways for Drupal Teams
The rule of thumb is simple:
API first, SMTP only when needed. Use the Postmark module for API sending, and keep SMTP for cases where API integration just isn’t practical.
Log every critical message path. Add metadata like a user ID or order ID so webhook events connect back to Drupal records.
Watch bounces and complaints from day one. If problems start to grow, split transactional and broadcast traffic into separate Message Streams.
Test in a safe setup, then go live. Use sandbox streams and webhook endpoints to check sending before production. Finish DKIM and Return-Path setup first.
For Drupal teams, the goal is straightforward: send through Postmark, trace every message, and check domain health early.
FAQs
When should I use Postmark API instead of SMTP in Drupal?
Use the Postmark REST API for new Drupal integrations when you want tighter control over email delivery. It gives you access to things like batch sending, Mustachio-based templates, tracking with JSON parameters, and inbound email processing.
Use SMTP relay mostly for legacy systems or apps that don't support API-based integrations.
How do I safely connect Postmark webhooks to Drupal?
Configure your Drupal endpoint so it can accept incoming JSON payloads over an HTTP POST request. Then, in your Postmark server settings, open the Webhooks tab and add the URL that Drupal can access.
For security, set up HTTP Auth credentials in Postmark and make sure your Drupal endpoint checks them before accepting the request. After that, have the endpoint return a 2xx status code to confirm it received the webhook.
Before you save everything, use Postmark’s built-in test feature to make sure the connection works as expected.
What should I check if Drupal emails send but never arrive?
First, open the Activity tab in your Postmark Message Stream and see whether the message was accepted. If you don’t see it in Postmark’s logs, the request probably failed before it ever reached Postmark. In that case, check your Drupal database logs for API errors, including auth problems.
If the message does show up in Postmark, look at the event details to see the delivery status. Then make sure the From address uses a verified Sender Signature. It also helps to review the message content for spam triggers, like shortened URLs or too many images.